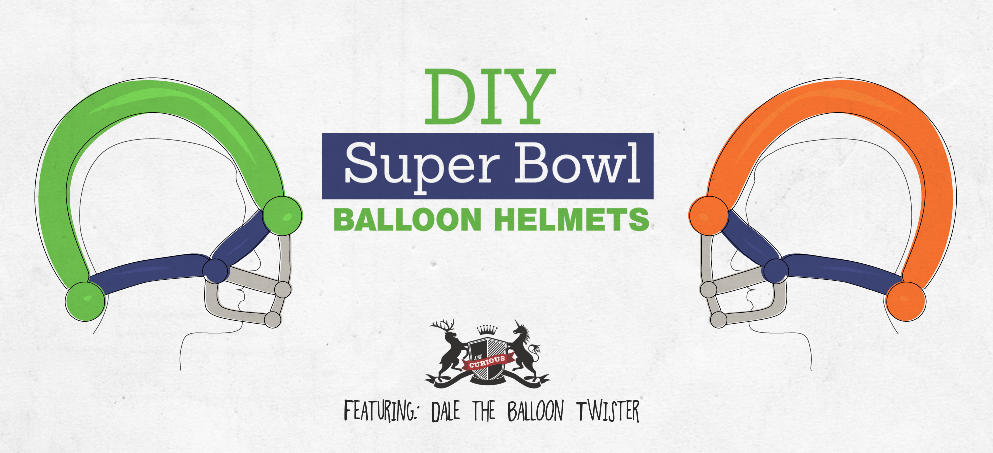
Your team FINALLY made it to the Super Bowl. Congratulations!
You’ve got the chicken wings, the beer, the perfect comfy chair in front of the tv… but do you have enough flair for the big game…?
Thank goodness for Dale “the Balloon Twister” Campbell! He put together a step-by-step tutorial to help us represent our favorite team –and go beyond the typical football hoodie and beanie. Check out how to make your own Super Bowl balloon helmet and be sure to visit his site, daletheballoontwister.com, to get further inspired! Thanks, Dale!
Psst! See what new and curious things we’re making! Like us on Facebook!
Note: This design was modified from a Mark Byrne design.
Step 1:
To get started, you will need choose your team’s favorite colors. Since Dale is a Bronco’s fan, he’s be choosing an Orange 350, a Blue 260 and one or two silver 160’s.

Step 2:
Inflate the 260 leaving an inch of or so deflated. Soften and tie off.

Step 3:
Beginning at the knotted end, make a 1-inch bubble.

Step 4:
Find the correct helmet size by taking the 260 and wrapping it around the person’s head. Connect by twisting into the first 1-inch bubble.

Step 5:
Squeeze the remaining air into the nipple end of the balloon and form a 1-inch bubble.

Step 6:
Form a 6-finger length bubble in the loop and connect the last 1-inch bubble.

Step 7:
Find the center of the small loop just formed and divide it in two.

Step 8:
Find the center of the large loop and divide it in two as well.

Step 9:
Inflate the 350 fully, then soften enough to leave an inch long tail. Tie a knot in the other end of the balloon as close to the nipple as possible.

Step 10:
Form a 2 to 3-inch pinch twist in the nozzle end of the 350.

Step 11:
Take the small triangle of the 260 and tuck the 350 pinch twist into the top of the peak.

Step 12:
Make a matching 2 to 3-inch pinch twist on the other end of the 350 and tuck into the peak of the large 260 triangle.

Step 13:
Inflate the silver 160 and leave a 5 or 6-inch tail.

Step 14:
Connect the knotted end of the 160 to the pinch twist at the top of the small triangle in the 260.

Step 15:
Make a 7-finger bubble in the 160 followed by a 1-inch pinch twist.

Step 16:
Make a 3-finger bubble followed by another pinch twist.

Step 17:
Soften the 160 and connect over to one of the 1-inch bubbles on the 260. Be sure to leave enough to make a slight bend about 3-fingers below the bubble.

Step 18:
Soften the 160 once again and connect to the first 160 pinch twist made.

Step 19:
Connect over to the other 1-inch bubble on the 260.

Step 20:
Place a slight bend approximately 3-fingers down and connect back over to the bottom center pinch twist of the 160. Pop and tie off excess. Add artwork for that extra touch.
See what new and curious things we’re making! Like us on Facebook!


Very well done. Thanks for sharing.
Make a video! very cool
All kudos go to Dale! Reemie, indeed!!! We DO need a video tutorial! Sadly, I can’t promise it will happen before the Super Bowl, but I’m with you! We need one! The WORLD needs one!